Introduction
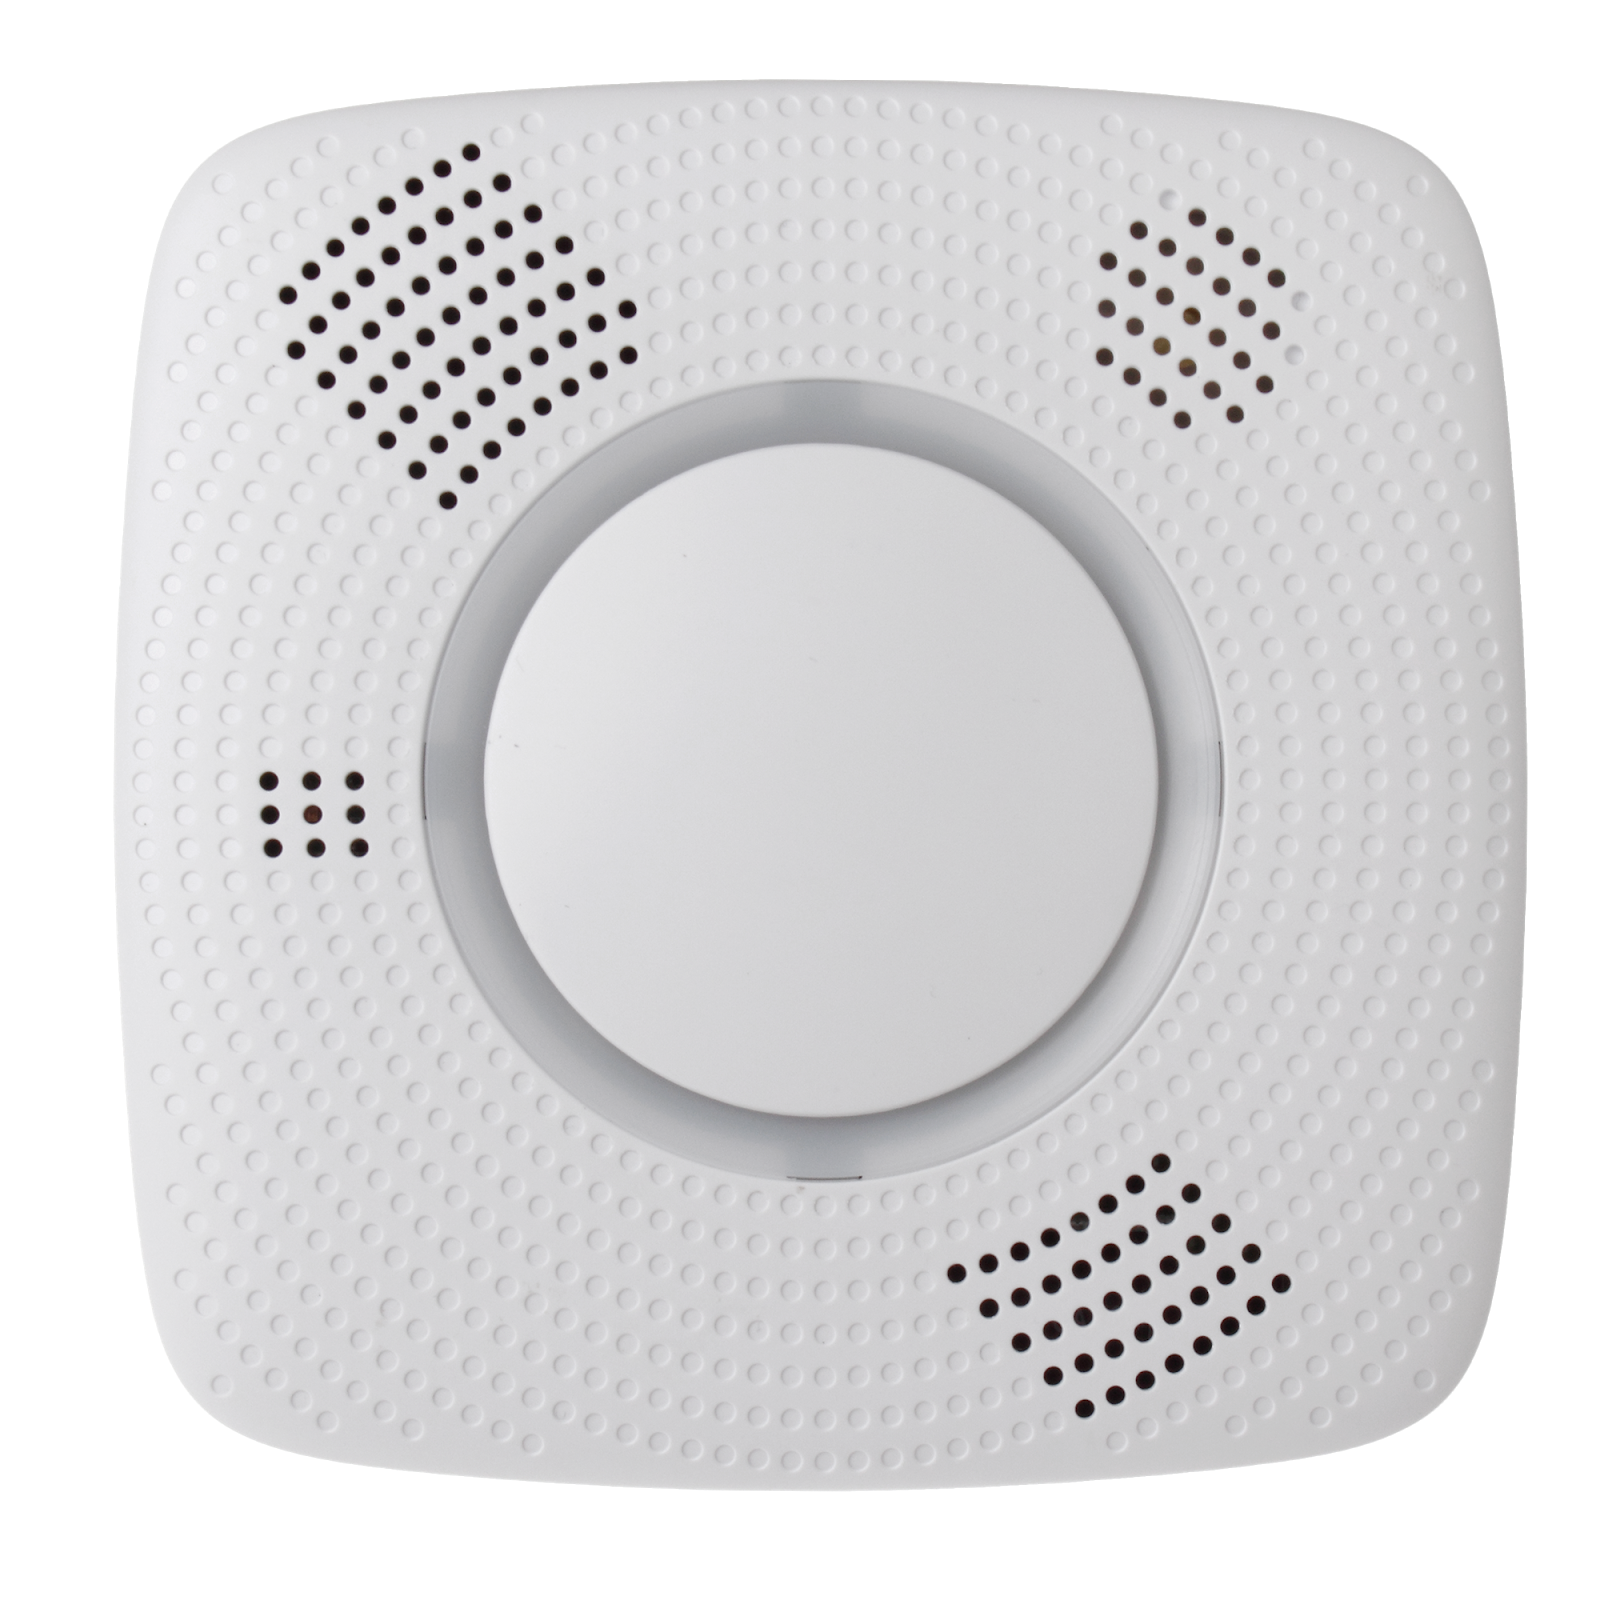
The SDCO is a Z-Wave device created to detect fire and carbon monoxide in households. It is equipped with sensors that can detect temperature, humidity, heat, and carbon monoxide levels. In case of danger, it will turn on a siren warning the residents. It is designed to be mounted on a ceiling and is both auto-calibrating and self-diagnosing for ease of use.
| Manufacturer |
Futurehome AS |
| EL number |
6200153 |
| Suppliers item number |
SDCO-1-RhTH-ZW-SC-AC-OTA |
| ETIM Class |
EC000926 - Physical sensor for bus system |
Installation guide
- Find a proper placement
- min. 60 cm from the wall and the top of the pitched roof
- min. 1.5 meters from the ventilation
- avoid placement in places with a lot of water vapour, near the cooking area and in direct sunlight
- avoid placement near heat sources and air conditioners
- Turn off the main power switch.
- Connect the wiring using the supplied connector.
- Screw the mounting bracket onto the ceiling. Use a drill to make two holes for ceiling plugs. Note: Thoroughly wipe away any dust.
- Remove the battery compartment cover and attach the cable to the SDCO's PCCO card.
- Place the battery cover in the correct position.
- Turn on the main power switch.
- Place the SDCO alarm on the bracket and rotate clockwise to lock the hook.
Choosing a room on a device
- After connecting the SDCO to the power, the voice messages will play.
- Wait for the message: “To select location, press and hold the button now.”
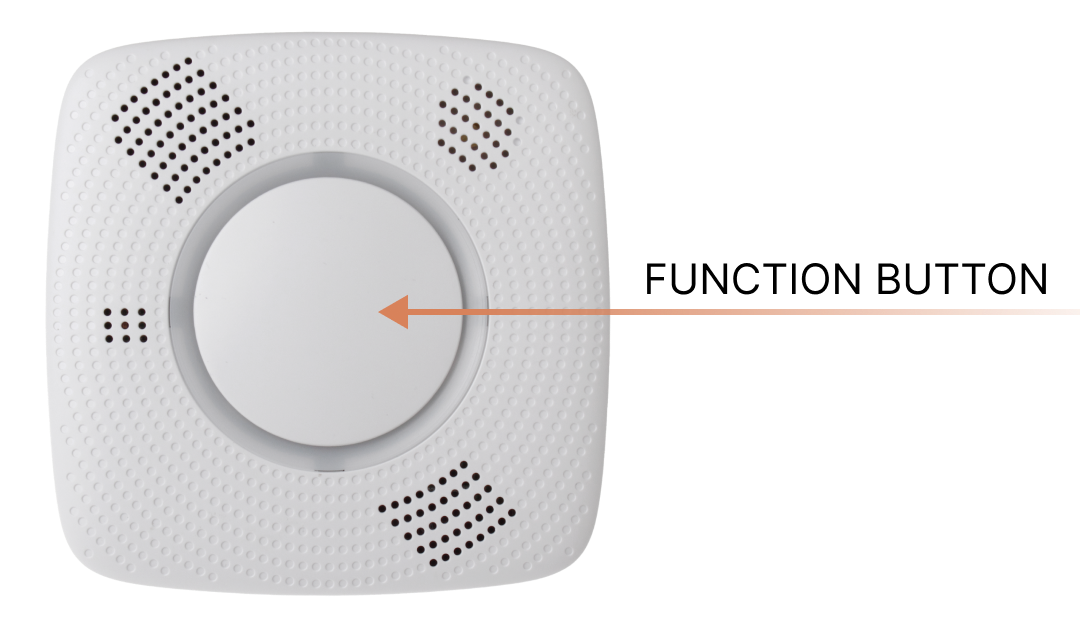
- Press and hold the function button until the correct room is read out.
- Releasing the function button chooses a room. A message: “Programmed” will play.
Inclusion
- Open the Futurehome app, go to settings
 → devices → add a device → select Z-Wave. See more about adding devices here if necessary.
- Select "secure inclusion" and "include known devices faster" → start inclusion.
- Press the function button 3 times within 1.5 seconds.
- The device is now at the bottom of your device list → select it →
 settings → give it a name and a room.
Additional info
Testing
- Press the function button.
- If the SDCO works properly, the red LED will blink once, followed by a two-tone beep.
Factory reset
- Press and hold the button on the device for more than 20 seconds.
- Release the button when you hear 3 beeps.
LED signals meaning
-
| Short flash |
Sending signal |
| Rapid flash |
Incipient alarm |
| Flashes every second |
Silent alarm |
| Flashes every 2 seconds |
Warm-up/calibration in progress |
-
| Flashes every second |
Power on/Calibration failed |
| Flashes every 5 seconds |
Self-diagnosis failed (remove and reinsert batteries/power supply) |
| Flashes every 45 seconds |
Low battery (change batteries) |
-
| Flashes every 4 seconds |
Critical low battery (replace batteries immediately) |
| Flashes every 5 seconds |
Self-diagnosis failed (remove and reinsert batteries/power supply) |
| Flashes every 45 seconds |
Low battery (change batteries) |
Technical details
| Power supply |
~110-220V 50/60Hz |
| Sound alarm |
85dB from 3m |
| Detection range: Carbon monoxide |
0 to 450ppm |
| Detection range: Temperature |
0°C to 50°C |
| Detection range: Humidity |
0% to 99%RH |
| Height (mm) |
128 |
| Width (mm) |
128 |
| Depth (mm) |
46 |
| Communication |
Z-Wave |
Documents
Was this article helpful?
0 out of 2 found this helpful
Have more questions? Submit a request
Comments
0 comments
Please sign in to leave a comment.